
Ever found yourself staring at your La Crosse technology clock, puzzled about how to set the time? You’re not alone. These high-tech timepieces, while sleek and accurate, can sometimes be a bit tricky to adjust.
La Crosse Technology Clock How to Set Time
La Crosse Technology, a trusted brand in advanced weather technology, offers a range of clocks known for precision and functionality. Despite the occasional difficulty some users may experience in setting the time, these clocks pack a wealth of features tailored for modern convenience.
Key Features of La Crosse Technology Clocks
 La Crosse Technology clocks offer a bounty of features contributing to their popularity. Precision timekeeping, often synched to the atomic clock in Colorado, keeps you in stride with accurate time. Another unique aspect is their integrated radio control, which auto-adjusts based on time zone or Daylight Saving Time.
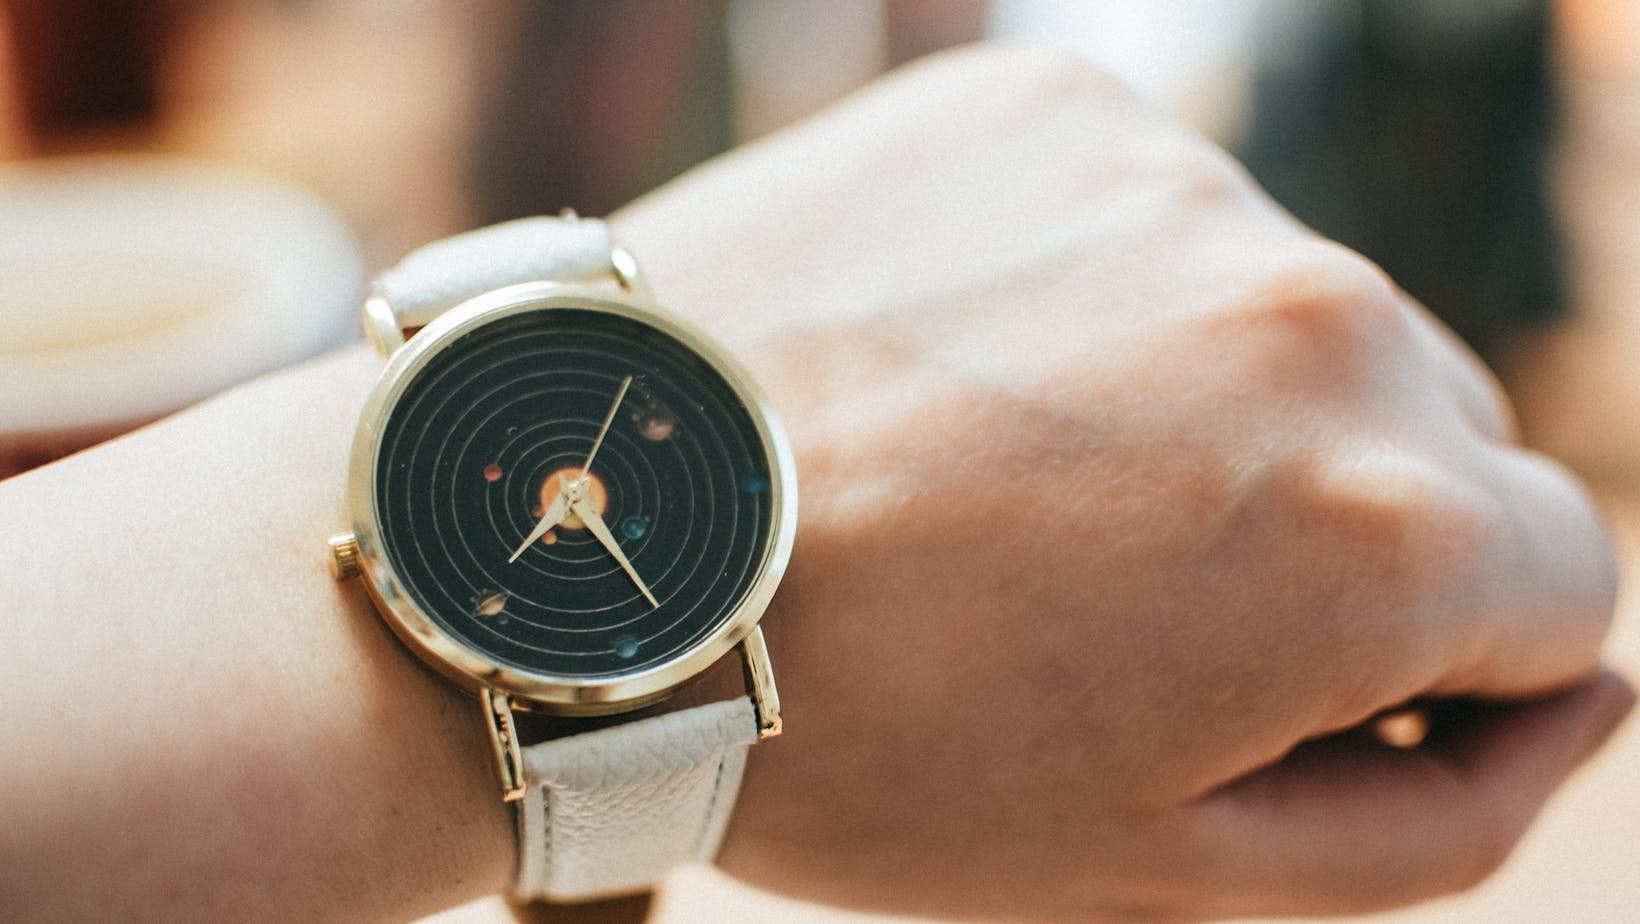
Many models also flaunt indoor/outdoor temperature readings, humidity detection, and forecast abilities. Their unique feature, the inclusion of moon phase data, adds extra intrigue. For example, you’ll find features like the current moon phase in some models like the La Crosse Technology 513-149 Indoor/Outdoor Thermometer & Atomic Clock.
Different Models of La Crosse Technology Clocks
Diversity in models ensures there’s a La Crosse Technology clock fit for any space. The WS-8115U-S Digital Wall Clock, for instance, showcases easy-to-read digits and temperature readings, along with radio-controlled time.
The C86279 Atomic Full Calendar Clock with Extra Large Digits caters to those seeking simplicity. Its oversized numbers and additional alarm make it an excellent aid for seniors or people with poor eyesight.
An altogether more stylish option is the WT-3122A 12.5 Inch Wood Atomic Analog Clock. Marrying aesthetics with functionality, it provides precise atomic time in a classic wooden frame.
Following a successful acquisition of a La Crosse Technology clock, the foremost task becomes setting the correct time. However, this seemingly straightforward job often confounds many owners due to the diverse range of models and their unique settings. In the following sections, you’ll find the assistance required to navigate this challenge and successfully set the time on your La Crosse Technology clock.
Identifying the Model of Your La Crosse Technology Clock
Different models of La Crosse Technology clocks come with distinct characteristics. For example, the WS-8115U-S Digital Wall Clock boasts a digital display, while the WT-3122A Atomic Analog Clock carries a traditional clock face. Recognizing your clock’s model number remains the first step towards successful time setting, as this factor critically impacts the process.
Start by examining the body of your clock for a model number or name. Usually, you’ll find this number at the back of the clock or within the battery compartment. Should this search yielded no results, refer to any accompanying product documentation. It’s likely you’ll find the model number printed on the user manual or the product box.
Locating the Time Setting Controls
 Post-identification of your clock’s model, the next task entails pinpointing the appropriate time-setting controls. Typically, La Crosse Technology clocks feature a ‘Set’ button, often situated at the back. In certain models like the C86279 Atomic Full Calendar Clock, buttons labeled as ‘Mode’, ‘Up’, or ‘Down’ accompany the ‘Set’ option. These additional controls assist in managing the minutes, hours, and even navigating between 12-hour or 24-hour time formats.
Laying hands on the exact position and number of controls depends on your model. Referring to the user manual offers clear guidelines regarding the location and operation of these settings. In the absence of a manual, websites like ClockOwnersManuals and ManualAgent provide downloadable pdf versions.
Detailed Instructions on Setting the Time
While the exact process of setting time varies from one clock model to another, a general sequence of actions applies to most La Crosse Technology clocks.
- Press and hold the ‘Set’ button until the display indicates a flashing time.
- Make use of ‘Up’ or ‘Down’ buttons to adjust the hours to the correct time.
- Validate the hour setting, typically by pressing ‘Set’ again. This action results in the minutes flashing, ready for input.
- Similar to setting the hours, adjust the minutes using ‘Up’ or ‘Down’ buttons.
- Confirm the input by pressing the ‘Set’ button, finalizing the time setting.
This procedure characterizes a standard time-setting operation, while specific models might demand additional steps. Lastly, it’s essential to ensure your clock syncs with the atomic clock in Colorado. Guaranteeing this synchronization allows for precision timekeeping, a remarkable feature inherent in La Crosse Technology clocks.

